GuideSoil & Water
How to take a soil sample that tells you the truth
A laboratory can only analyse the soil you send it. Here is how to divide your land, how many cores to take, how deep to go and how to handle the sample so the results reflect the whole field.
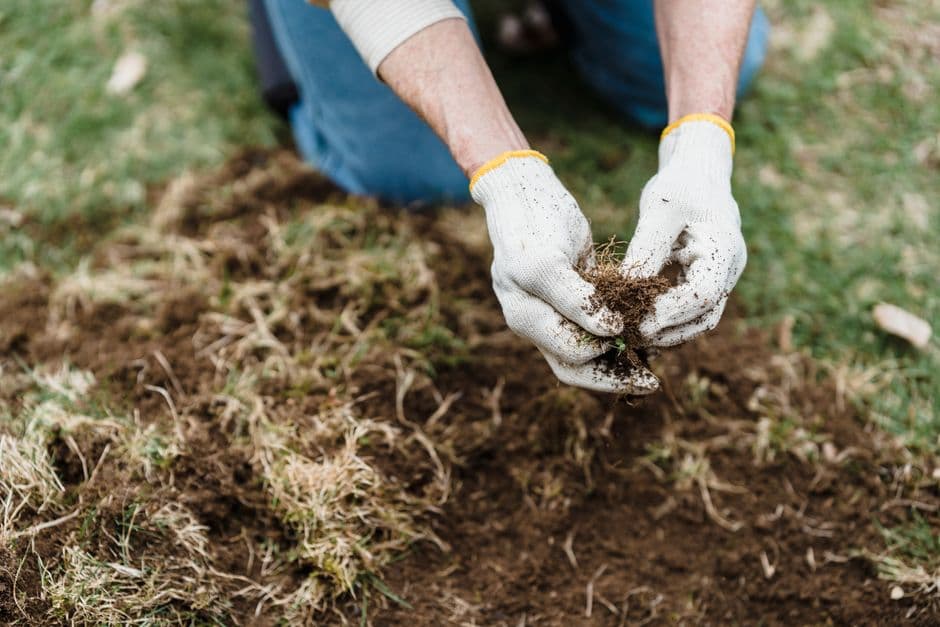
A soil analysis is the foundation of every sound fertiliser and lime decision. Yet the half kilogram of soil that reaches the laboratory has to stand for thousands of tons of soil in the field. If that small sample is not representative, even the best laboratory will give you results that lead to the wrong decision. Most errors in soil testing happen in the field, not in the lab.
Step 1: Divide the farm into sampling units
Each sample should come from an area that is as uniform as possible. Divide your land by the things that change the soil:
- Soil type and colour, such as red clay versus grey sand.
- Slope position: hilltops, mid-slopes and low-lying areas often differ.
- Past management: fields that were limed, manured or cropped differently should be sampled separately.
- Crop history and yield maps, if you have them.
On commercial farms, a uniform sampling unit is commonly no bigger than about 10 to 20 hectares. On smallholder farms, each plot with a different history or soil is its own unit, even if it is small. Sample unusual patches, such as a waterlogged corner or a salty spot, separately if they are big enough to manage differently.
Step 2: Take enough cores
One spade of soil is not a sample. A composite sample is made up of many small cores taken across the unit and mixed together. Take at least 15 to 20 cores per sampling unit, walking a zigzag or W-shaped path so that you cover the whole area.
Step 3: Sample at the right depth
Most recommendations are based on topsoil samples. Keep the depth the same for every core, because nutrients and acidity change with depth.
| Situation | Depth |
|---|---|
| Conventional tillage, annual crops | 0–20 cm (the plough layer) |
| No-till or conservation agriculture | 0–15 cm, sometimes split 0–5 and 5–15 cm to see stratification |
| Pastures | 0–10 cm |
| Subsoil acidity check | A separate sample at about 20–40 cm |
| Orchards and vineyards | Topsoil and subsoil, in the root zone of the trees |
Subsoil acidity is common in the higher rainfall areas of Southern and East Africa and limits root growth even when the topsoil looks fine. A subsoil sample every few years is worth the small extra cost.
Step 4: Use the right tools
- A soil auger or sampling tube gives cores of equal size and depth. A spade works if you cut a thin slice from the side of a hole, the same thickness from top to bottom.
- Mix cores in a clean plastic bucket. Avoid galvanised buckets and brass tools, which can contaminate the sample with zinc or copper.
- Do not use bags or containers that held fertiliser, lime or feed.
Step 5: Mix, reduce and label
- Break up clods and mix all the cores from one unit thoroughly in the bucket.
- Remove stones, roots and plant material.
- Take about 500 g (roughly two cupped handfuls) of the mixed soil and put it in a clean plastic bag or the laboratory's sample box.
- Label it clearly with your name, the field or plot name, the depth and the date. Write the label on the outside, not on paper inside with moist soil.
- Keep a simple map or list showing which sample came from which field, so you can match the results later.
If the soil is wet, spread it out to air-dry in the shade on clean paper. Do not dry it in an oven or in direct sun, as heat can change some results. Send it to the lab as soon as you can.
When to sample
Sample at the same time of year each time so results can be compared. Many farmers sample after harvest or during the dry season, which leaves time to get results, plan and apply lime well before planting; agricultural lime needs time and moisture to react. Avoid sampling within a few weeks of applying fertiliser, lime or manure. Resample each unit every two to four years, or more often where you are correcting a problem.
Choosing a laboratory
Use an accredited laboratory, ideally one that takes part in an inter-laboratory proficiency scheme, and try to stay with the same lab over the years. Different labs may use different extraction methods for phosphorus and other nutrients, and results from different methods cannot be compared directly. Ask the lab which methods they use, and make sure your adviser interprets the results with guidelines made for those methods and for your region.
A basic analysis usually covers pH, phosphorus, potassium, calcium, magnesium, and acidity or acid saturation, often with organic carbon and texture. Ask for zinc and other micronutrients if your area is known to be deficient, and a salinity test if you irrigate.
Key points
- Sample uniform units separately; keep unusual areas out of the main sample.
- Mix 15 to 20 cores per unit, all to the same depth.
- Use clean plastic equipment and send about 500 g, clearly labelled.
- Sample well before planting and use the same accredited lab over time.
- Get the results interpreted by an agronomist or extension officer who knows your area.
This guide gives general information. Conditions differ from farm to farm, so confirm recommendations with your local extension officer, agronomist or veterinarian, and always follow the registered product label.