GuideCrops
Keeping a spray record your buyer will accept
A complete, dated spray record lets you prove what went on every field and that the waiting period was kept before harvest. Here is what to write down, when to write it, and how to keep it ready for an audit.
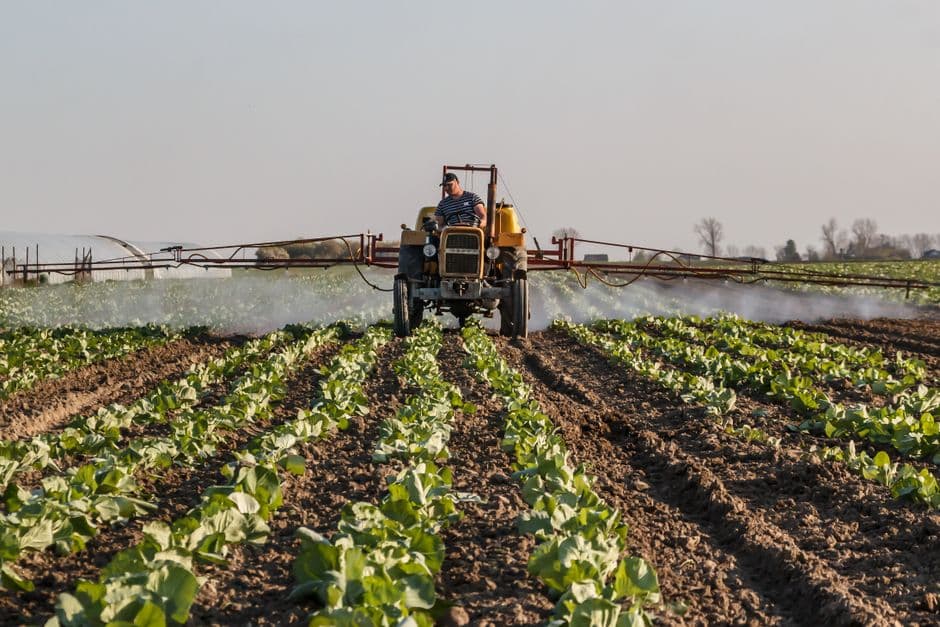
Sooner or later a buyer asks the question: what did you spray on this crop? A packhouse, a supermarket supplier, an exporter or a contract buyer wants to know that every product was registered for the crop, applied at the label rate and given its full waiting period before harvest. If the answer lives only in your memory, you cannot prove it. A spray record turns good practice into evidence, and it protects you when a residue test or a complaint comes back months later.
A spray record is one part of your wider farm records. It is also the part buyers check most closely, because it is where food safety and your farming meet.
What buyers look for
Requirements differ between buyers, schemes and countries, so check your country's regulations and your buyer's requirements, for example GLOBALG.A.P. or a local retailer's supplier scheme. Almost all of them come back to the same four things:
- Traceability: any harvested lot can be linked to the field it came from and every product that field received.
- Legality: each product was registered for that crop and that target, and was used as the label says.
- Waiting periods: the pre-harvest interval was kept for every product before the crop was picked or cut.
- Competence: the person who sprayed knew what they were doing, and the sprayer was working properly.
What to record for every application
| Record | Why it matters |
|---|---|
| Date | Starts the clock on the pre-harvest and re-entry intervals |
| Field or block name and area sprayed | Links the spray to the land, and lets rate and total be checked against each other |
| Crop and growth stage | Some labels limit use to certain stages; buyers check the crop is on the label |
| Target pest, disease or weed | Shows why the product was needed and that it is registered for that use |
| Product trade name, active ingredient, registration number | Identifies exactly what was used; buyers check actives against the residue limits of their market |
| Rate per hectare and total product used | Proves the label rate was followed and reconciles with your chemical store |
| Water volume per hectare and sprayer | Shows the sprayer was set up for the job |
| Operator | Shows who is accountable and lets you check they were trained |
| Wind and temperature | Shows conditions suited spraying and helps if a drift complaint arises |
| Pre-harvest interval and earliest harvest date | The date before which that field may not be harvested |
| Re-entry interval, where the label gives one | Protects workers going back into the field |
Write it the same day
A record written a week later is a reconstruction from memory, and it is easy to get a date, rate or field wrong. Fill it in at the time, ideally before the operator leaves the field or as soon as the sprayer is washed out. A simple habit works well: the person who mixes the tank fills in the product, rate and area; the operator adds the weather and confirms the field; the manager checks and initials the line at the end of the day.
Record the weather you actually measured or observed when you sprayed. A cheap handheld wind meter and a thermometer in the vehicle are enough. If the wind picked up and you stopped, note that too.
Work out the earliest harvest date on the spot
The pre-harvest interval, also called the withholding period, is the number of days the label says must pass between the application and harvest. Add it to the spray date and write the result next to the entry: sprayed on 5 October with a 14-day interval means no harvest before 19 October. When a field has had several products, the field is only clear once the latest of those dates has passed. Tell the harvest team that date, in writing if possible, so nobody starts early because the crop looks ready.
Tie the record to your other paperwork
- Chemical store: the total product used in your spray record should match what left the store. A quick monthly check catches missing entries.
- Sprayer calibration: keep the date and result of each calibration, so the water volume you record is one you actually measured.
- Training: keep a note of who is trained to mix and apply, and when.
- Harvest records: write the field and harvest date on each lot, so the spray record can be matched to what was sold.
- Purchase invoices: they show the product came from a legitimate supplier.
Paper or digital?
Either can work, as long as it is complete, legible and kept safe, but check whether your buyer or scheme prefers one. Many farms use a printed logbook in the chemical store or vehicle and copy it into a spreadsheet each week. A spreadsheet makes totals and searches easy; paper survives a flat phone battery and a dusty bakkie. Whatever you choose, keep a backup copy somewhere other than the farm office, and keep records for at least as long as your buyer or certification scheme asks.
Common gaps an audit picks up
- No registration number, or a product that is not registered for the crop.
- A rate above the label rate, or a total that does not match rate × area.
- Harvest dates inside the pre-harvest interval of a recent spray.
- Missing operator names or weather.
- Blocks named differently in the spray record and the harvest record.
- Tank mixes written as one line, so neither product's rate is clear.
Key points
- Record every product on every field on the day it is applied.
- Copy registration number, rate and waiting periods from the label in front of you.
- Earliest harvest date = spray date + pre-harvest interval; the field waits for the latest one.
- Reconcile product used with your chemical store, and keep calibration and training records alongside.
- Check your buyer's scheme for anything extra it requires, and keep a backup copy.
This guide gives general information. Conditions differ from farm to farm, so confirm recommendations with your local extension officer, agronomist or veterinarian, and always follow the registered product label.